Quick start guide
The quickest way to use emerge is to
- Add a “To” column in your Google sheets and the contacts you want to send the emails to.
- Open Emerge navigate to compose => preferences add your preferences ( like Sender full name, Open and click-tracking etc), select an existing template or create a new one and save the changes.
- Preview the email that you want to send or just hit send.
Add column headers in your Google sheet
Each column will represent a personalized field in your email.
Start by adding a “To” column header in your Google sheet as this is the minimum required field for Emerge to send your emails. Next, add any additional fields required to customize your email such as: Name, Location, Company etc.
The data in these columns can be used as personalized variables in your email. You can add as many columns as you want and pick any column header name you want.

Note
Please ensure there are no trailing empty spaces before or after the column headers.

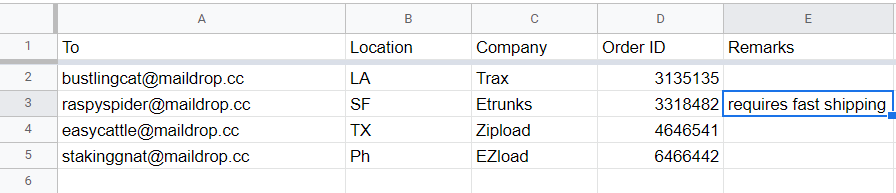
Fill the spreadsheet with your recipients’ data
Fill your spreadsheet with all the information needed. Ensure all emails cells are filled with valid emails addresses. Apart from emails, you can leave some cells blank, that’s fine! In the example below, some recipients will get a remark whereas other won’t.
Once your contact list is ready, open Emerge and add your preferences. In menu, go to Add-ons> Emerge > Open Emerge > compose.
Note
You can also add one or more Cc or Bcc recipients and also have multiple recipients in To.
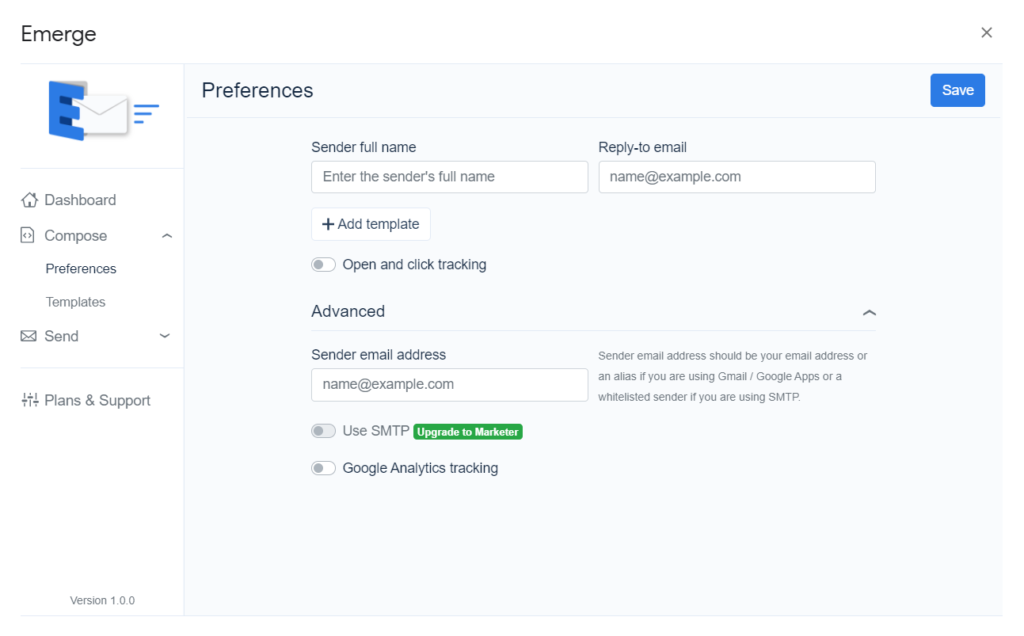
Save your preferences
Now that your contact list is ready, you have to add your preferences and create the email template that will serve as the basis for the mail merge sent with Emerge and click on save.
Note
If you are an advanced user and want to use the SMTP or want to use a different email address to send your emails from check out the advanced preferences.
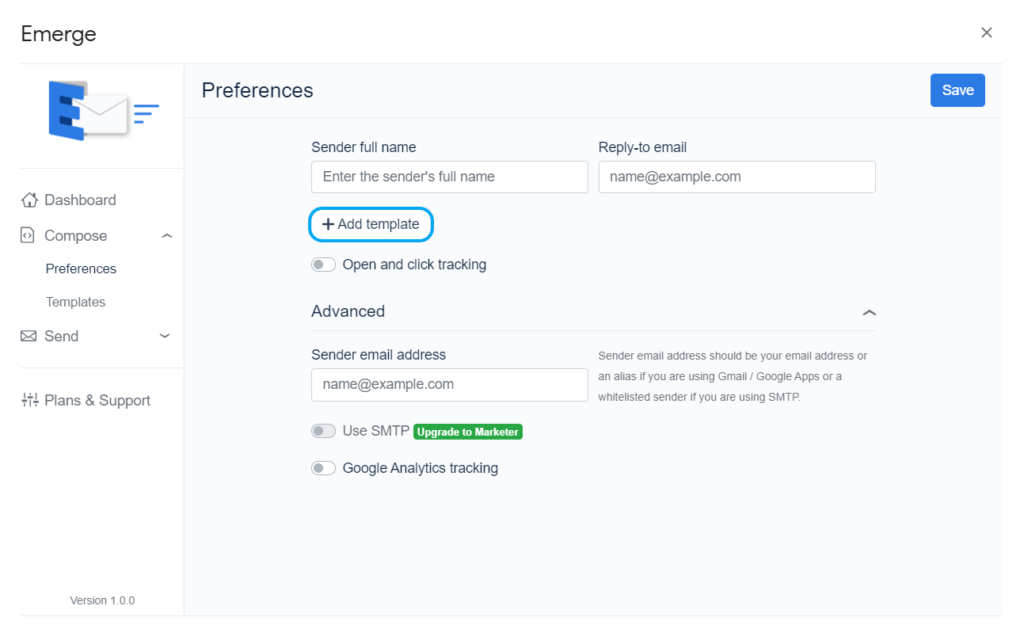
Create an email template
Open Emerge and click on Compose > Preferences > Add template
Personalize email subject and content
You are going to create a new email template from Emerge editor.
A template is an email containing personalized tags such as {{firstname}}. Personalized tags must be included in double curly brackets you can choose these fields from the merge fields section in the editor menu or enter them manually.
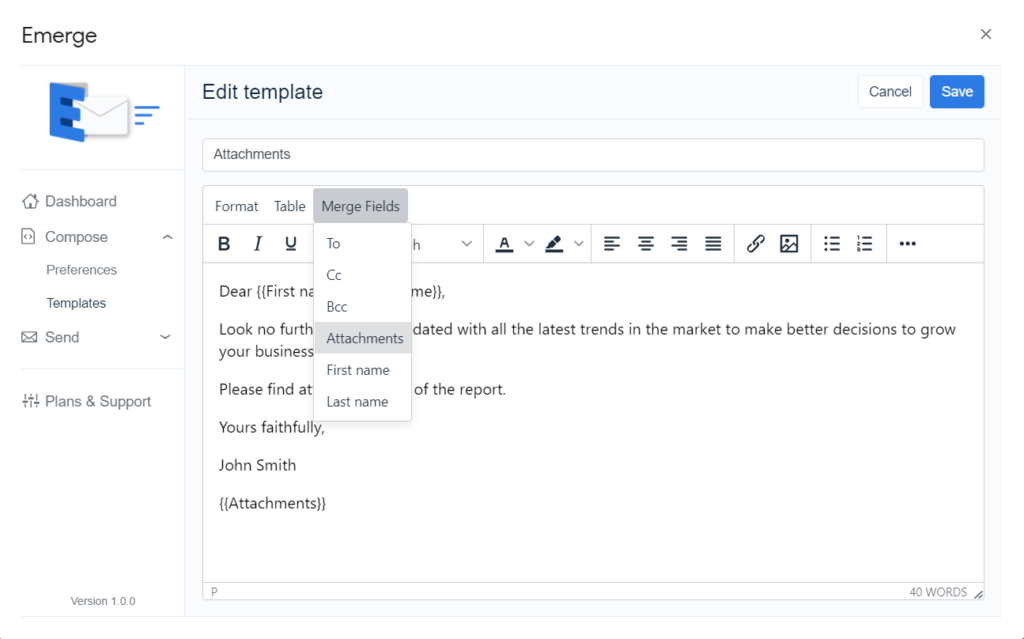
You can personalize every part of the email, from subject to content. The only limit is your imagination! Each personalized tags in emails will be replaced by your spreadsheet data on sending. No need to copy-paste any more. When everything looks nice, click on Save.
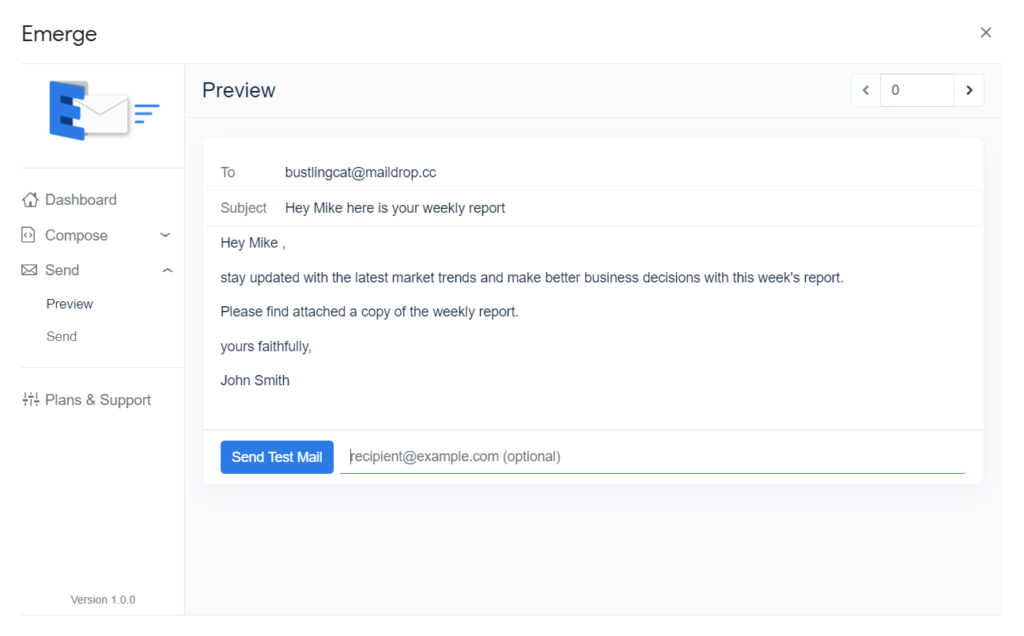
Preview emails and send
Back in the main view, click on Send. You can preview what your emails will look like when personalized by clicking on “Preview ” or directly send emails.
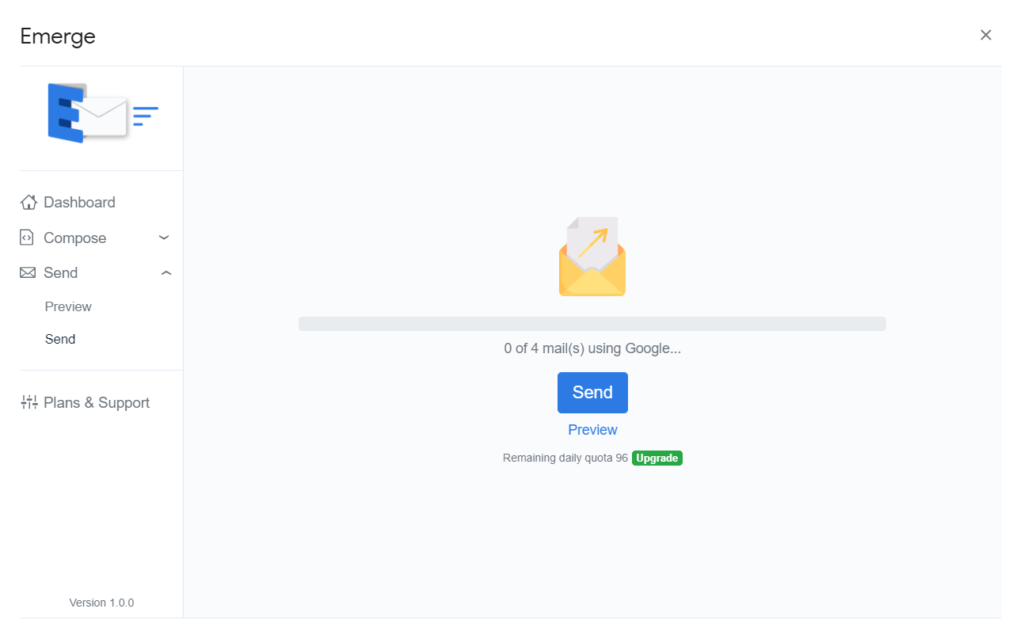
Send emails
Ready to send? Click on send to launch your campaign. Sending may take from a few seconds to several minutes depending on your spreadsheet size. Once sending is finished, track emails in real-time with the tracking report.
Congratulations, you just finished sending your email campaign.